The Dungeon Codex
This book contains information, guides, and loot tables for every dungeon that currently exists within Dragonstone.
Dungeon Lobby
DS0: Tutorial
This is a scripted dungeon tutorial that is designed to teach you the basics of Dragonstone Dungeons and their mechanics.
You have unlimited lives in this dungeon, and there are very few mobs, however there is a rather generous time limit so you can read at your own pace.
- Difficulty: Tutorial
- Lives: Infinite
- Time Limit: 15 Minutes
- Group Size: 1 player
Guide:
The dungeon starts off in an open clearing where an NPC will spawn and begin speaking to you and explaining basic dungeon mechanics.
You'll follow a NPC down a field, and take down a few low-level enemies, before being confronted by an Elite Zombie. The fight should be over in a minute or so with basic iron or diamond equipment. This dungeon is tedious and not lucrative to farm, most people either only play this once, or just skip straight to Happy Hills.
Written by: Rotanova
DS1: Happy Hills
The first real dungeon can provide some issues if your gear isn't at least diamond level, however if you came in with absolutely nothing, there's a chest on the right of your entry point with a few basic items, including a wooden sword and some leather armor.
- Difficulty: Easy
- Lives: 4
- Time Limit: 15 Minutes
- Group Size: 1-2 players
Guide:
The path of this dungeon is just straight ahead, up the hill, where you'll encounter Forest Dwellers, and then Zombies of increasingly higher level, capping at 20. At the end of the trail you meet the Elite Zombie. A chest, a few barrels, and a small quarry of Aetherite Ore can be found along the way. Just keep your distance, spacing is the key when dealing with mobs. Try to get rid of them as they spawn, or else you'll find yourself swamped. The Elite Zombie is just a zombie with significantly higher health, doubled up with the armor beacon next to him. Destroy the Armor beacon, and the Elite Zombie will soon follow.
Written by: Rotanova
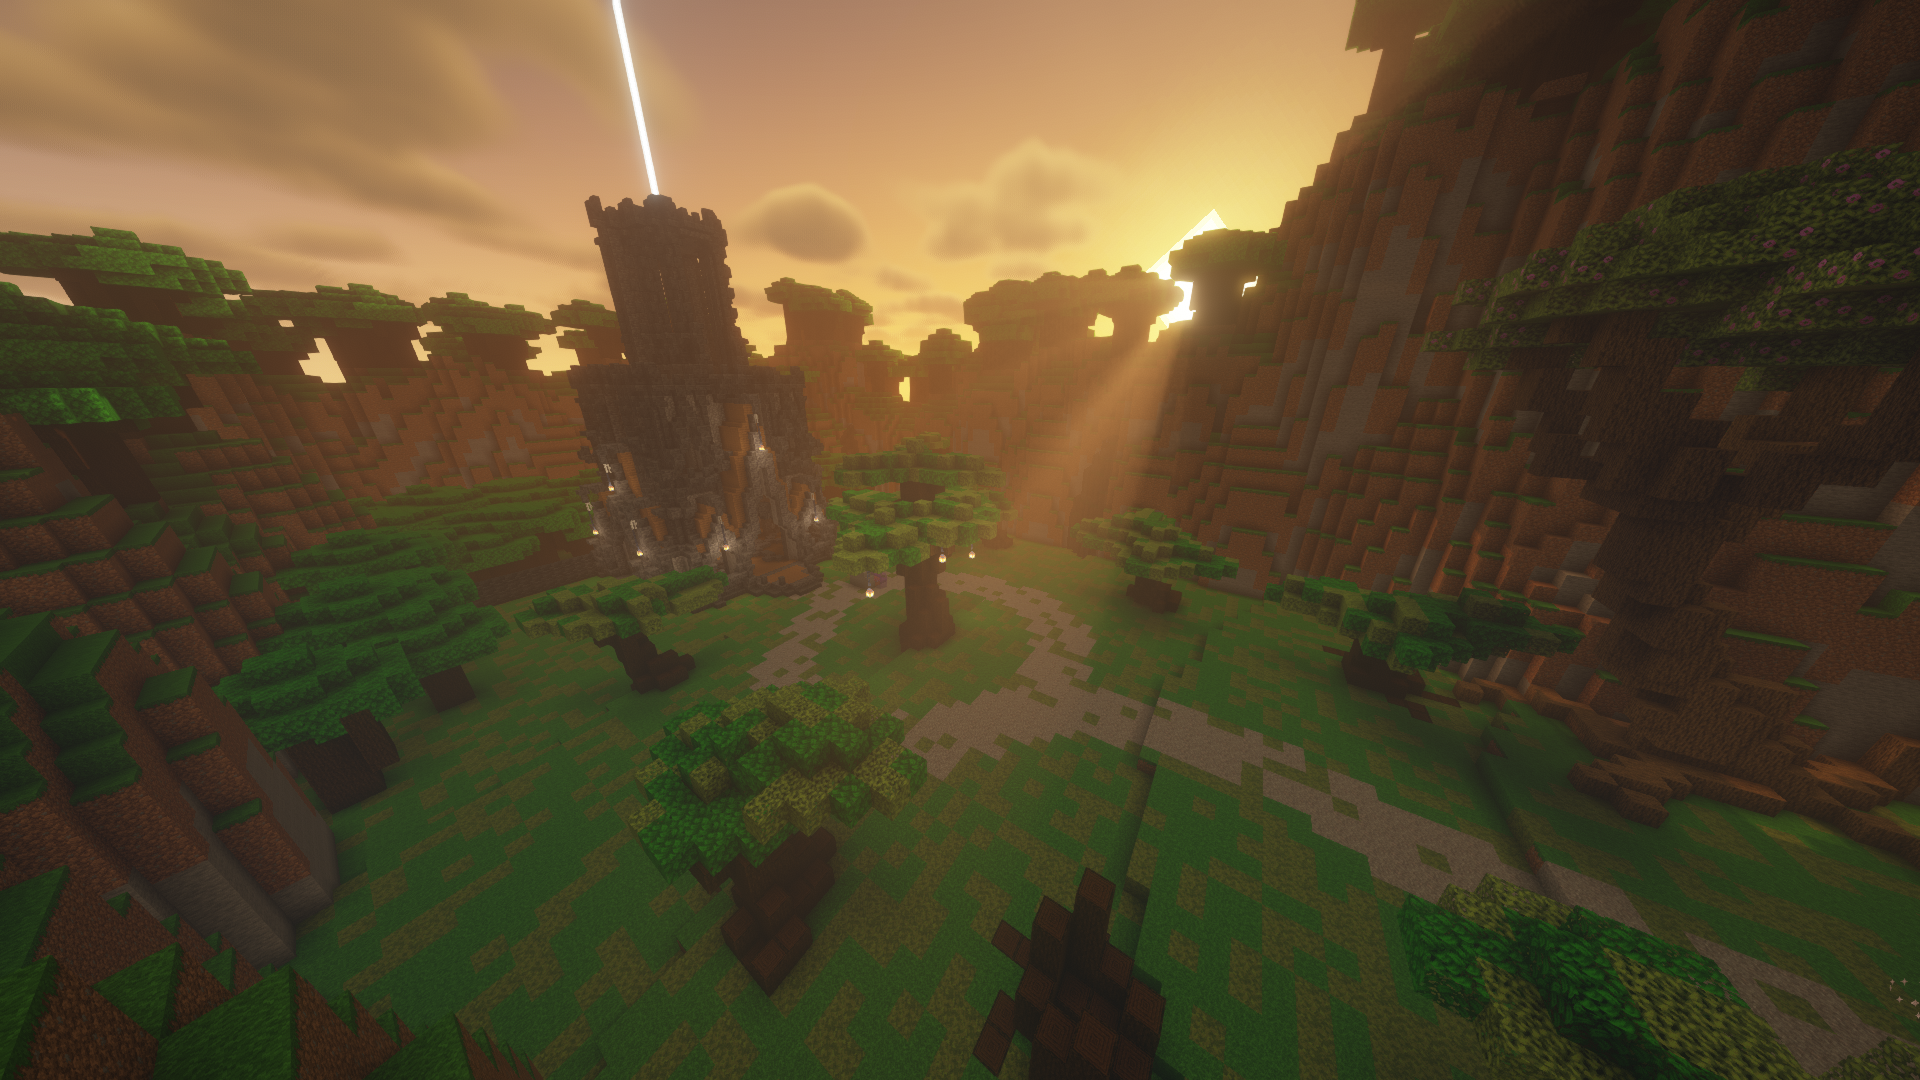
DS2: The Outpost
Overview:
For this dungeon, it can't be recommended enough that the player has at least Max Enchanted Netherite Armor and a Sword to match. A max enchanted bow or crossbow will help as well, especially with the Forest Spirits' habit of getting out of range of your sword swings. However, the Aether Blade, or True Aether Blade will be your best friend. The bonus damage against undead, coupled with the additional knockback and larger sweeping edge, is going to make the player's time here a lot less stressful. Keep moving, watch the air for Forest Spirits, and watch out for the portals that Zombies spawn out of in this ravine. This dungeon features several secret areas this guide won't be covering in detail to save the surprise, but just a hint: there is absolutely nothing on the right side.
- Difficulty: Medium
- Lives: 3
- Time Limit: 30 Minutes
- Group Size:
1-3 players(Limits were removed as of July 8th, 2023)
Boss Loot Table: (Corrupted Warden)
Note: The boss tier is determined by the number of players in the dungeon. Each player increases the boss tier by half a level.
Guaranteed Drops
| Item | Quantity |
| Shard Dust | 3 (100%) |
| Undead Essence | 2 (100%) |
| Aetherian Steel | 1 (100%) |
| Experience Points | 1000-2000xp |
Bonus Drops
| Item | Quantity (Drop Chance) |
| Aether Flint & Steel | 1 (5%) |
| Aether Shears | 1 (5%) |
Loot Rolls (Amount of loot that the loot tables below will drop)
This table shows how many "rolls" you will have in each loot pool. You gain additional rolls for fighting higher tier bosses. Each roll is one instance of loot being chosen from the below table at a weighted random. More rolls mean more chances for rare loot!
| Boss Tier | Resource Rolls | Treasure Rolls |
|
Tier 1 |
40 |
1 |
| Tier 2 | 80 | 2 |
| Tier 3 | 120 | 3 |
| Tier 4 | 160 | 4 |
| Tier 5 | 200 | 5 |
| Tier 6 | 240 | 6 |
| Tier 7 | 280 | 7 |
| Tier 8 | 320 | 8 |
| Tier 9 | 360 | 9 |
| Tier 10 | 400 | 10 |
Resource Pool (Items with a higher weight are more likely to be rolled)
The boss will pull loot drops from this table depending on the number of rolls. The weight of each item in the table determines how likely that item will be chosen during each roll. Higher boss tiers will grant you more loot rolls in this table. (Total Weights: 319)
| Item | Weight |
| Iron Ingot | 100 |
| Gold Ingot | 90 |
| Diamond | 50 |
| Emerald | 40 |
| Shard Dust | 30 |
| Undead Essence | 5 |
| Aetherian Steel | 4 |
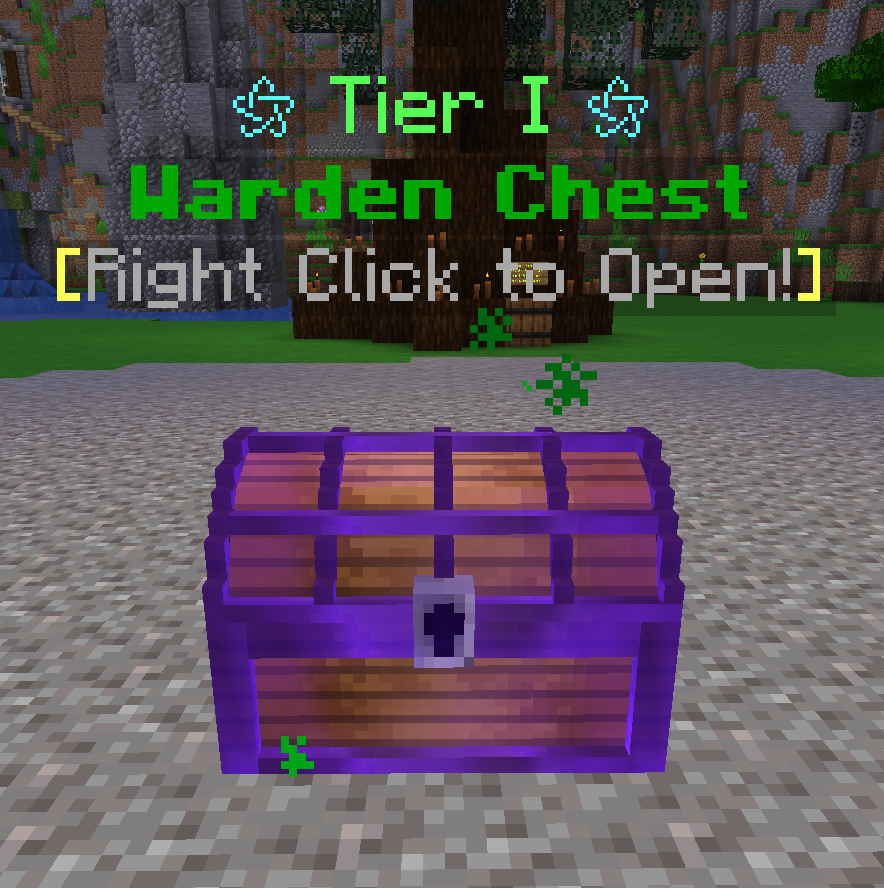
Treasure Pool (Warden Chest) (Items with a higher weight are more likely to be rolled)
| Item | Weight |
| Starlite Alloy | 1000 |
| Cloud Essence | 600 |
| Aether Blade | 100 |
| Mana Generator | 80 |
| Mana Crystal | 70 |
| Aether Wand | 60 |
| Aether Focus (Green) | 55 |
| Aether Focus (Blue) | 55 |
| Aether Focus (Red) |
55 |
| Aether Essence |
50 |
| Aether Bow | 45 |
| Aether Helmet | 40 |
| Aether Chestplate | 40 |
| Aether Leggings | 40 |
| Aether Boots |
40 |
| Warden's Crown |
35 |
᛫ Approximate chance of receiving a weapon is 9.5% per roll.
᛫ Approximate chance of receiving an armor piece is 7.2% per roll.
᛫ Approximate chance of receiving Aether Essence is 2.1% per roll.
᛫ Approximate chance of receiving the Warden's Crown is 1.5% per roll.
To determine the probability of obtaining an item, you must divide that item’s weight by the sum of all other weights. Aether Essence has a weight of 50 so it would be 50/2315 or a ~1 in 46 chance, or ~2.16%. (Total Weights: 2365)
Image of a Warden Chest containing drops from the rare pool.
Dungeon Guide:
The first boss encounter is an upgraded Elite Zombie, who hovers in the air in one spot, raining down meteors and calling in backup zombies whenever his HP reaches a certain threshold. The Elite Zombie can deal melee damage if someone gets close enough, but proper spacing will make this issue non-existent. Just take down the little guys and then focus on Elite until more spawn. A level 3 forest crate will spawn when he is defeated. Continuing on down the path, there will be forest crates, Aetherite Ore, and more zombies. When the player reaches the end of the path, a paved circular area surrounded by stones and a willow tree, they'll be locked inside the ring, and another portal will open.
The player will begin to receive chat messages from The Warden, the dungeons' final boss. After a short discourse, a countdown will begin, and the fight will commence. The Warden, similar to the Elite Zombie from before, will be hovering in midair, motionless. He will fire magic, indicated by a circle with a dot in the center, all over the ring. Avoid the circles and stay close to keep the damage going. Occasionally, he will fire magic pulses that fly in midair, and can catch players off guard very easily. When struck by the Warden, the player is afflicted by the Cursed status affect, which decreases that players' damage by 10%. This lasts for 10 seconds, however if the player is struck again during the cooldown, the effect's timer will reset, and the affliction will worsen, an additional 10% reduction will be applied. Once the Warden reaches about half health, he'll surround himself in a shield, rendering him invulnerable, and multiple shield beacons will appear at random spots in the ring. These must be destroyed before the Warden fight can continue. The warden will begin to launch Chaos runes during the Shield phase, and this will continue throughout the rest of the fight. Once he reaches ~200-300 HP, he'll begin to self-destruct. The warden gains 80% damage resistance, but also takes 10 True Damage/s until he dies. He'll begin to launch attacks like crazy, so keep moving. Eventually he will die, the loot will drop, and the exit will open.
Guide written by: Rotanova (Feb 4th, 2022)
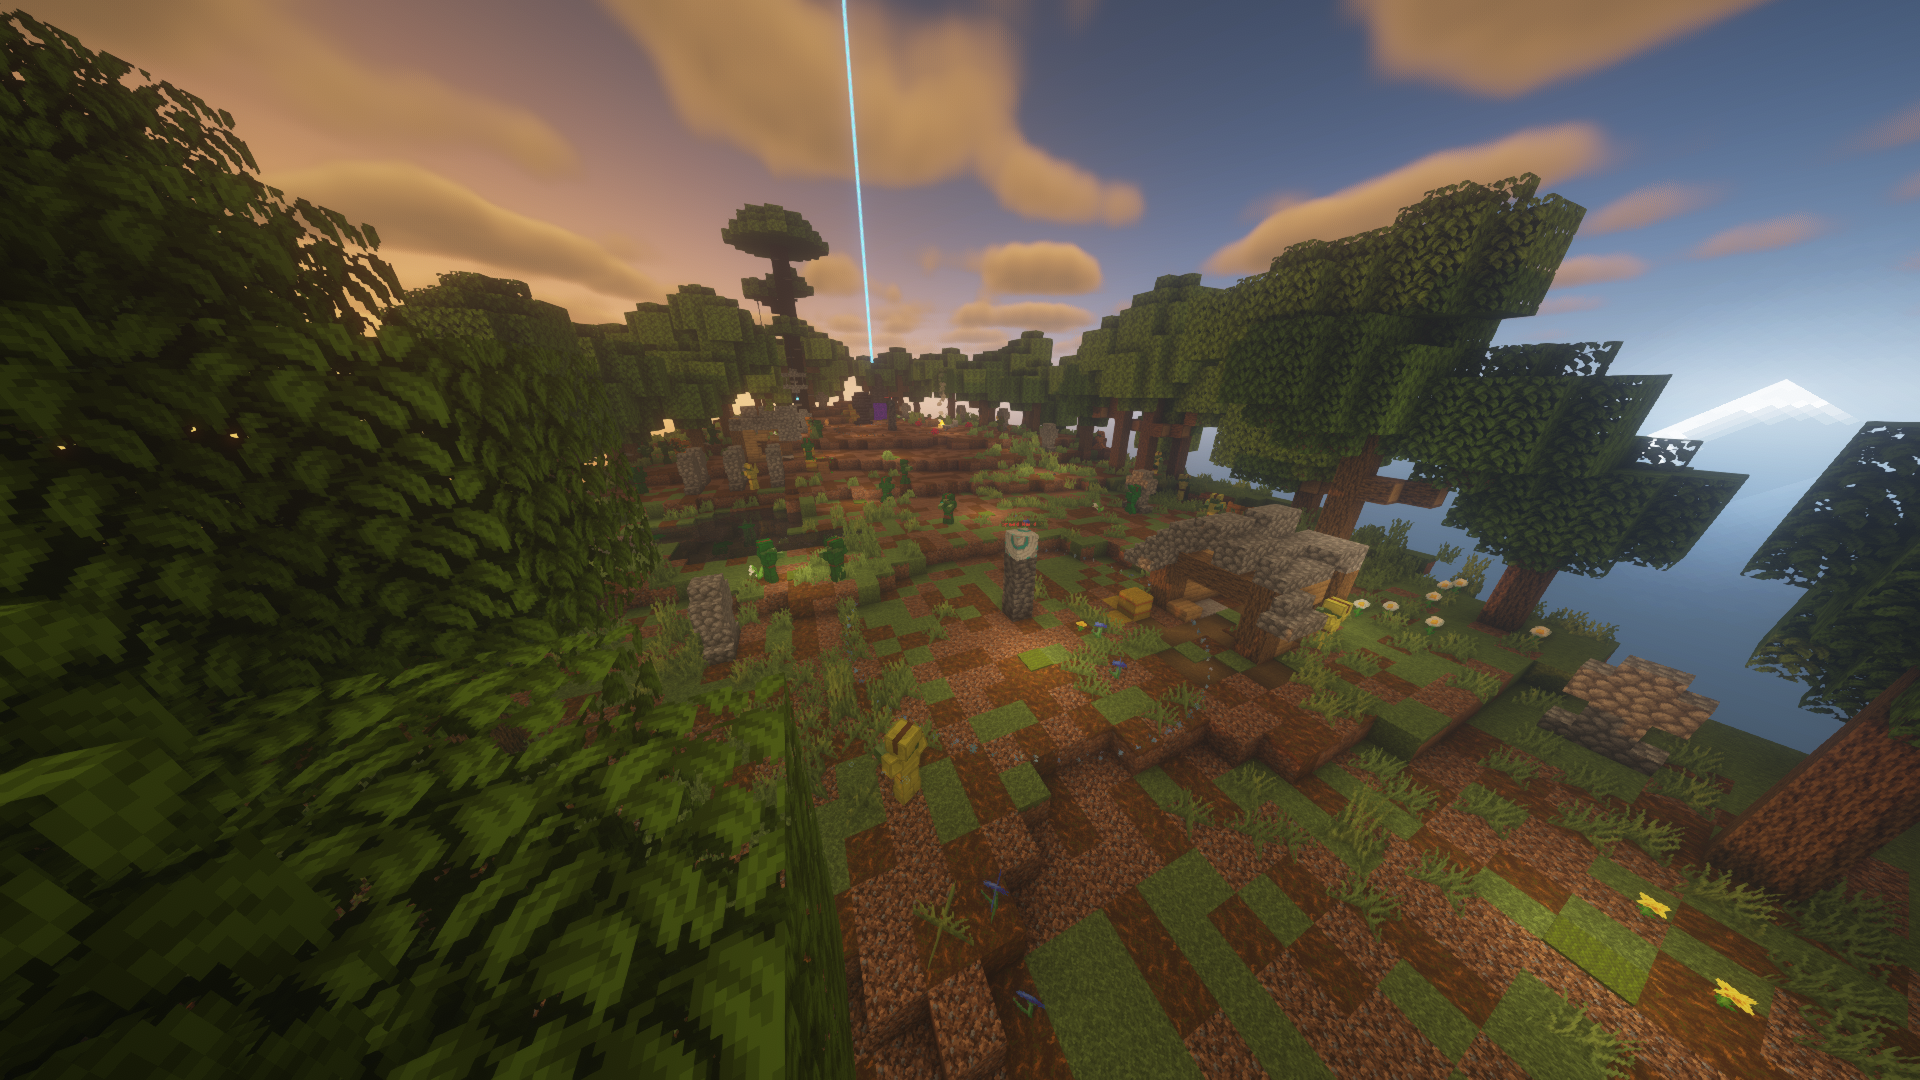
DS4: Ancient Digsite
Overview:
This Dungeon is the first place you will find materials needed for the Hellstone Forge. It is highly recommended to have AT MINIMUM fully enchanted netherite armor and forge level items such as the Aether Blade, with the True Aether Blade being the best due to it's whirlwind ability to help knock enemies back. A bow will be critical in this dungeon due to some ranged battles, especially during the boss fight. Consider bringing friends with you to complete your journey as this dungeon proves to be much more challenging than the previous ones. If you attempt dungeon difficulties higher than the base difficulty, you will need Tier II or higher forge equipment to survive.
- Difficulty: Hard
- Lives: 3
- Time Limit: 45 Minutes
- Group Size: 1-4 players
Dungeon Mobs
You can expect to encounter a variety of new mobs in this dungeon.
Husk
These creatures are slightly stronger than your average zombie, however they are quite slow. When attacked, they gain a small fleeting speed boost. Just like vanilla husks, being hit by them will give you a small hunger debuff.
Mummy
Slow, high health, inflicts hunger and slowness when hit by them.
Ancient Skeleton
This enemy, like most in Ancient Digsite, is rather slow. However, they make up for this in being ranged, throwing bones at players.
Ancient Pharaoh
Tanky miniboss that shoots tornadoes at players as well as cursed sand along the ground that seeks you out.
Fire Sprite
Fire Sprites are a lot more difficult than the Forest Sprites encountered previously. Unlike the Forest Sprites, Fire Sprites do not lose health upon hitting you. They do slowly lose health over time, but it is still very slow. Fire Sprites, upon hitting you, can set you on fire, dealing fire damage.
Hellfire Archdemon
The boss of the dungeon. This boss has 3 phases and all are ranged battles. The Archdemon deals significant damage, and some attacks can be near one-shots if not dodged. Most of time time you can tank the first hit, but your armor is weakened for 6 seconds afterwards which can result in the next hit being deadly.
Boss Loot Table: (Hellfire Archdemon)
Note: The boss tier is determined by the number of players in the dungeon. Each player increases the boss tier by half a level.
Guaranteed Drops
| Item | Quantity |
| Shard Dust | 5 (100%) |
| Fiery Essence | 2 (100%) |
| Hellstone Ingot | 1 (100%) |
| Experience Points | 2000-3000xp |
Loot Rolls (Amount of loot that the loot tables below will drop)
This table shows how many "rolls" you will have in each loot pool. You gain additional rolls for fighting higher tier bosses. Each roll is one instance of loot being chosen from the below table at a weighted random. More rolls mean more chances for rare loot!
| Boss Tier | Resource Rolls | Treasure Rolls |
|
Tier 1 |
40 |
2 |
| Tier 2 | 80 | 3 |
| Tier 3 | 120 | 4 |
| Tier 4 | 160 | 5 |
| Tier 5 | 200 | 6 |
| Tier 6 | 240 | 7 |
| Tier 7 | 280 | 8 |
| Tier 8 | 320 | 9 |
| Tier 9 | 360 | 10 |
| Tier 10 | 400 | 11 |
| Tier 11+ | 40*Tier | 1*Tier |
Resource Pool (Items with a higher weight are more likely to be rolled)
The boss will pull loot drops from this table depending on the number of rolls. The weight of each item in the table determines how likely that item will be chosen during each roll. Higher boss tiers will grant you more loot rolls in this table. (Total Weights: 319)
| Item | Weight |
| Obsidian | 100 |
| Gold Ingot | 90 |
| Lapis Lazuli | 80 |
| Diamond | 50 |
| Shard Dust | 45 |
| Netherite Scrap | 6 |
| Fiery Essence | 5 |
| Hellstone Ingot | 3 |
| Netherite Ingot | 1 |
Treasure Pool (Hellfire Chest)
(Items with a higher weight are more likely to be rolled)
| Item | Weight |
| Infernal Essence | 1000 |
| Arcane Netherite | 400 |
| Infernal Ruby | 100 |
| Outpost CDR | 80 |
| Nether Essence | 50 |
| Hellfire Wand |
20 |
| Hellstone Blade | 20 |
| Hellstone Bow | 20 |
| Hellstone Helmet | 20 |
| Hellstone Chestplate | 20 |
| Hellstone Leggings |
20 |
| Hellstone Boots |
20 |
| Infernal Heart (Relic) |
15 |
To determine the probability of obtaining an item, you must divide that item’s weight by the sum of all other weights.
Total weight: 1785
Dungeon Guide:
Upon starting the dungeon, you will immediately be greeted with a variety of enemies (See Dungeon Mobs above) with husks being the most prevalent. Some are found along the edges of the path and require you to be a little closer for them to spawn. There are multiple sandstone structures along the path, some containing Desert Crates or chests. Once you have traveled past the fossils, you will encounter an Ancient Pharaoh. It's tornado attack sucks you in and it can do a decent deal of damage.
You will notice that around where the Ancient Pharaoh spawned, there is a pyramid entrance. This is the Pyramid Challenge and each party member gets one life to complete it. If you die in the Pyramid, you are booted out and cannot re-enter. Right clicking to start the challenge will warp the entire party inside, so make sure all members are ready before starting. The Pyramid is very difficult, with various turns and dead ends leading to dangerous enemies. There is also an optional parkour section for a bonus crate. The last stretch contains a large amount of mobs to defeat before you can get to the crate at the end. Upon breaking the crate, each member gets a +1 to their lives and can then go through the portal to leave.
After the Pyramid, you will run into the dig site. There are various chests and crates hidden in tents and mining pits. At the very end of the path is a large pit that looks to lead into the Nether. You will see a ward that is being protected by multiple shields around the pit that must be broken before the seal can be destroyed, triggering the boss to be summoned. Several high level enemies surround this pit so be ready for fighting. You will also find several Hellstone Ore scattered around the pit, but beware of the demons.
Guide written by: MaleahTries
DR2: Outpost Run
Overview:
[Description - Fill in later.]
- Difficulty: Medium
- Lives: 1
- Time Limit: 200 seconds.
- Group Size: 1 Player
Loot Table
The loot tier is determined by your total points when the run is completed.
| Points | Loot Tier |
| 27000 | ★★★★★ |
| 24000 | ★★★★ |
| 21000 | ★★★ |
| 18000 | ★★ |
| 0 | ★ |
Guaranteed Drops (Will always drop from any tier loot chest)
- 5x Shard Dust
- 1000-2000xp
Loot Rolls (Amount of loot that the loot tables below will drop)
This table shows how many "rolls" you will have in each loot pool. You gain additional rolls for achieving a higher tier loot chest! Each "roll" is one instance of loot being chosen from the tables below at a weighted random. More rolls mean more chances for rare loot!
- Tier 1:
- 30 Resources
- 1 Treasure Drop
- Tier 2:
- 60 Resources
- 2 Treasure Drops
- Tier 3:
- 100 Resources
- 3 Treasure Drops
- Tier 4:
- 150 Resources
- 4 Treasure Drops
- Tier 5:
- 400 Resources
- 7 Treasure Drops
Resource Pool
The boss will pull loot drops from this table depending on the number of rolls. The weight of each item in the table determines how likely that item will be chosen during each roll. Higher chest tiers will grant you more loot rolls in this table.
| Item | Weight |
| Iron Ingot | 1000 |
| Gold Ingot | 900 |
| Lapis Lazuli | 500 |
| Emerald | 400 |
| Shard Dust | 200 |
| Undead Essence | 30 |
Treasure Pool
| Item | Weight |
| Aetherian Steel | 1000 |
| Cloud Essence | 700 |
| Starlite Alloy | 700 |
| Azurite Crystal | 100 |
| Dragon Shard | 100 |
| Aether Essence | 80 |
To determine the probability of obtaining an item, you must divide that item’s weight by the sum of all other weights.
Approximate chance of receiving an Aether Essence is ~3% per roll.