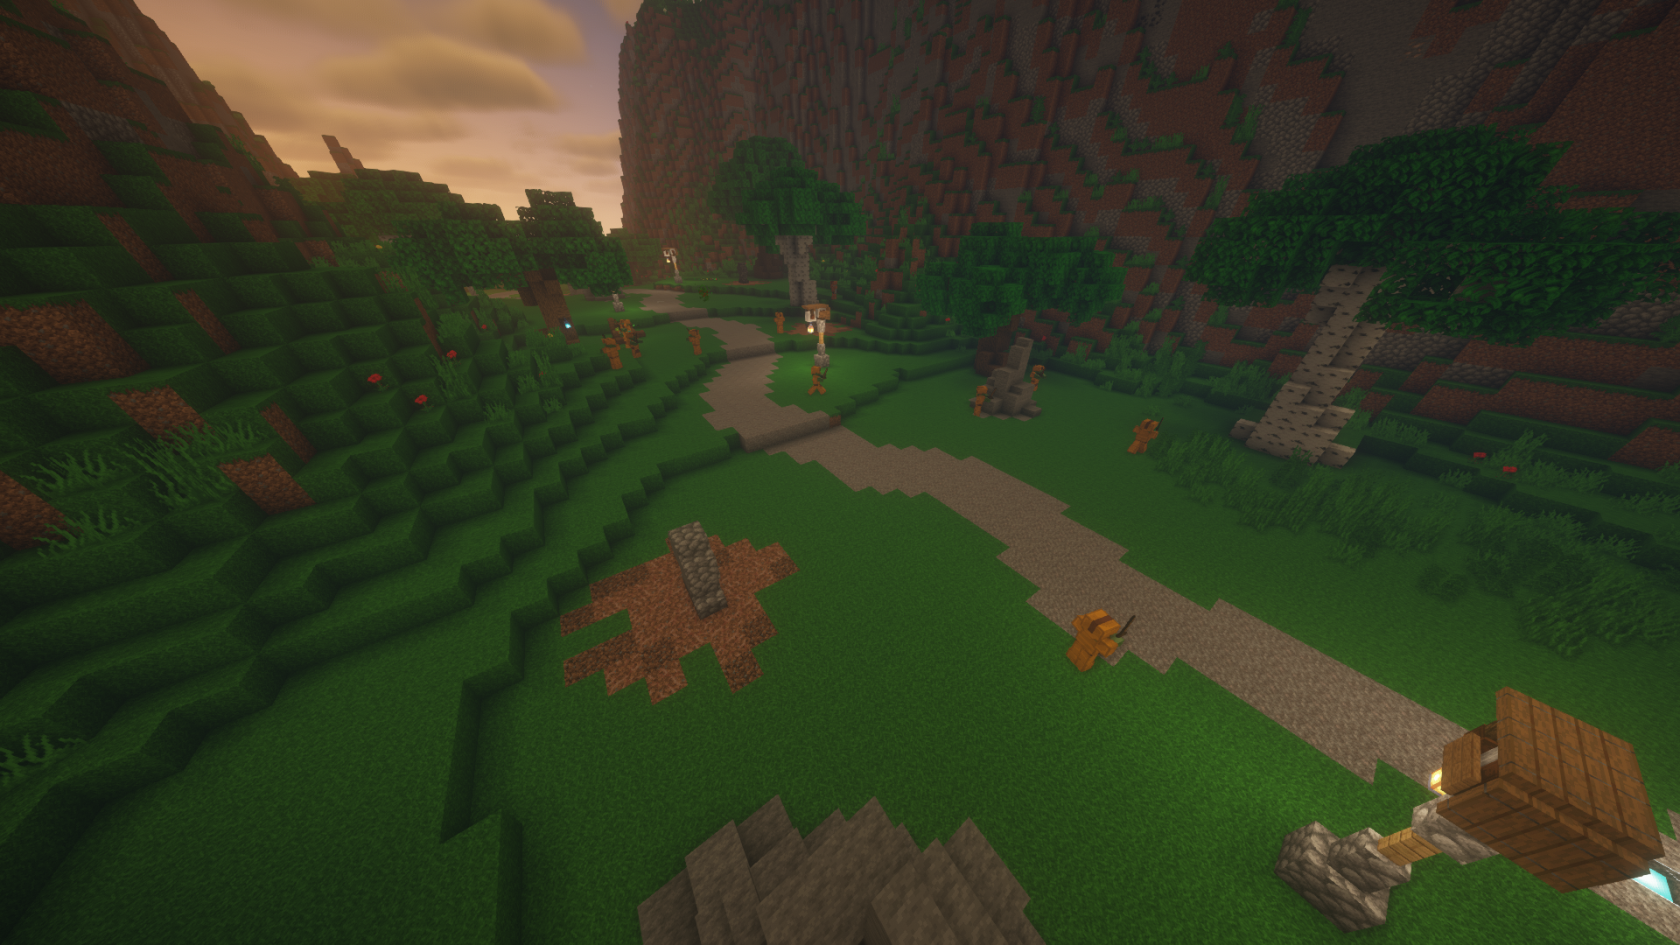
DS2: The Outpost
Overview:
For this dungeon, it can't be recommended enough that the player has at least Max Enchanted Netherite Armor and a Sword to match. A max enchanted bow or crossbow will help as well, especially with the Forest Spirits' habit of getting out of range of your sword swings. However, the Aether Blade, or True Aether Blade will be your best friend. The bonus damage against undead, coupled with the additional knockback and larger sweeping edge, is going to make the player's time here a lot less stressful. Keep moving, watch the air for Forest Spirits, and watch out for the portals that Zombies spawn out of in this ravine. This dungeon features several secret areas this guide won't be covering in detail to save the surprise, but just a hint: there is absolutely nothing on the right side.
- Difficulty: Medium
- Lives: 3
- Time Limit: 30 Minutes
- Group Size: 1-3 players
Boss Loot Table:
Common Pool (Quantity | Drop Chance)
| Item | (Tier 1) | (Tier 2) | (Tier 3) | (Tier 4)* | (Tier 5)* |
| Shard Dust | 4-10 (100%) | 6-20 (100%) | 10-34 (100%) | 20-56 (100%) | 25-70 (100%) |
| Undead Essence | 2-6 (100%) | 3-9 (100%) | 4-12 (100%) | 5-15 (100%) | 6-18 (100%) |
| Aetherian Steel | 1-3 (100%) | 2-6 (100%) | 3-9 (100%) | 4-12 (100%) | 5-15 (100%) |
| Aether Flint & Steel | 1 (5%) | 1 (6%) | 1 (7%) | 1 (8%) | 1 (10%) |
| Aether Shears | 1 (5%) | 1 (6%) | 1 (7%) | 1 (8%) | 1 (10%) |
Bonus Pool (Items with a higher weight are more likely to be rolled)
| Item | Weight | | | Boss Tier | Loot Rolls |
| Iron Ingot | 100 | | |
Tier 1 |
40-80 |
| Gold Ingot | 90 | | | Tier 2 | 60-120 |
| Diamond | 80 | | | Tier 3 | 80-160 |
| Shard Dust | 30 | | | Tier 4* | 100-200 |
| Golden Apple | 20 | | | Tier 5* | 120-240 |
Rare Pool (Items with a higher weight are more likely to be rolled)
| Item | Weight | | | Boss Tier | Loot Rolls |
| Starlite Alloy | 1000 | | |
Tier 1 |
1 |
| Dragon Shard | 900 | | | Tier 2 | 2-3 |
| Cloud Essence | 600 | | | Tier 3 | 3-5 |
| Aether Blade | 80 | | | Tier 4* | 4-6 |
| Mana Generator | 80 | | | Tier 5* | 5-8 |
| Enchanted Golden Apple | 45 | | | ||
| Aether Essence | 35 | | |
*Tiers 4 and 5 are currently only possible when dragon overfills a dungeon.
Dungeon Guide:
The first boss encounter is an upgraded Elite Zombie, who hovers in the air in one spot, raining down meteors and calling in backup zombies whenever his HP reaches a certain threshold. The Elite Zombie can deal melee damage if someone gets close enough, but proper spacing will make this issue non-existant. Just take down the little guys and then focus on Elite until more spawn. A level 3 forest crate will spawn when he is defeated. Continuing on down the path, there will be forest crates, Aetherite Ore, and more zombies. When the player reaches the end of the path, a paved circular area surrounded by stones and a willow tree, they'll be locked inside the ring, and another portal will open.
The player will begin to receive chat messages from The Warden, the dungeons' final boss. After a short discourse, a countdown will begin, and the fight will commence. The Warden, similar to the Elite Zombie from before, will be hovering in midair, motionless. He will fire magic, indicated by a circle with a dot in the center, all over the ring. Avoid the circles and stay close to keep the damage going. Occasionally, he will fire magic pulses that fly in midair, and can catch players off guard very easily. When struck by the Warden, the player is afflicted by the Cursed status affect, which decreases that players' damage by 10%. This lasts for 10 seconds, however if the player is struck again during the cooldown, the effect's timer will reset, and the affliction will worsen, an additional 10% reduction will be applied. Once the Warden reaches about half health, he'll surround himself in a shield, rendering him invulnerable, and multiple shield beacons will appear at random spots in the ring. These must be destroyed before the Warden fight can continue. The warden will begin to launch Chaos runes during the Shield phase, and this will continue throughout the rest of the fight. Once he reaches ~200-300 HP, he'll begin to self-destruct. The warden gains 80% damage resistance, but also takes 10 True Damage/s until he dies. He'll begin to launch attacks like crazy, so keep moving. Eventually he will die, the loot will drop, and the exit will open.
Guide written by: Rotanova
